All italicized parts are the challenges and questions that came up in the project. There are 15 in total.
Research & Direction Chosen
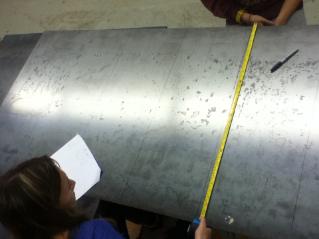
Research for the boat plans was done on the computer. The plans were found at http://www.polysail.com/skate.htm Additionally, a set of plans and photos were distributed to the group by the teacher. When looking at materials, the three main options were the following: metal, plastic, and wood. Using a point system based off of cost, durability, and pliability; it was determined that metal was the best choice after calling the suppliers (Plastic Lumber Depot, Millworks, and Metals Plus).
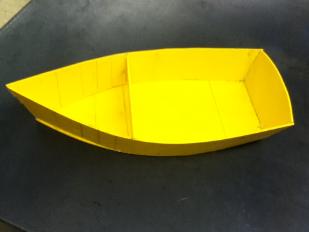
After looking at the plans and determining which material to use, a prototype was made to scale. It was made out of acrylic and was easy to work with. Two challenges with the prototype was measuring it to scale and gluing the pieces together with the hot glue gun.
Building & Ideas
Equipment & Materials Used :
|
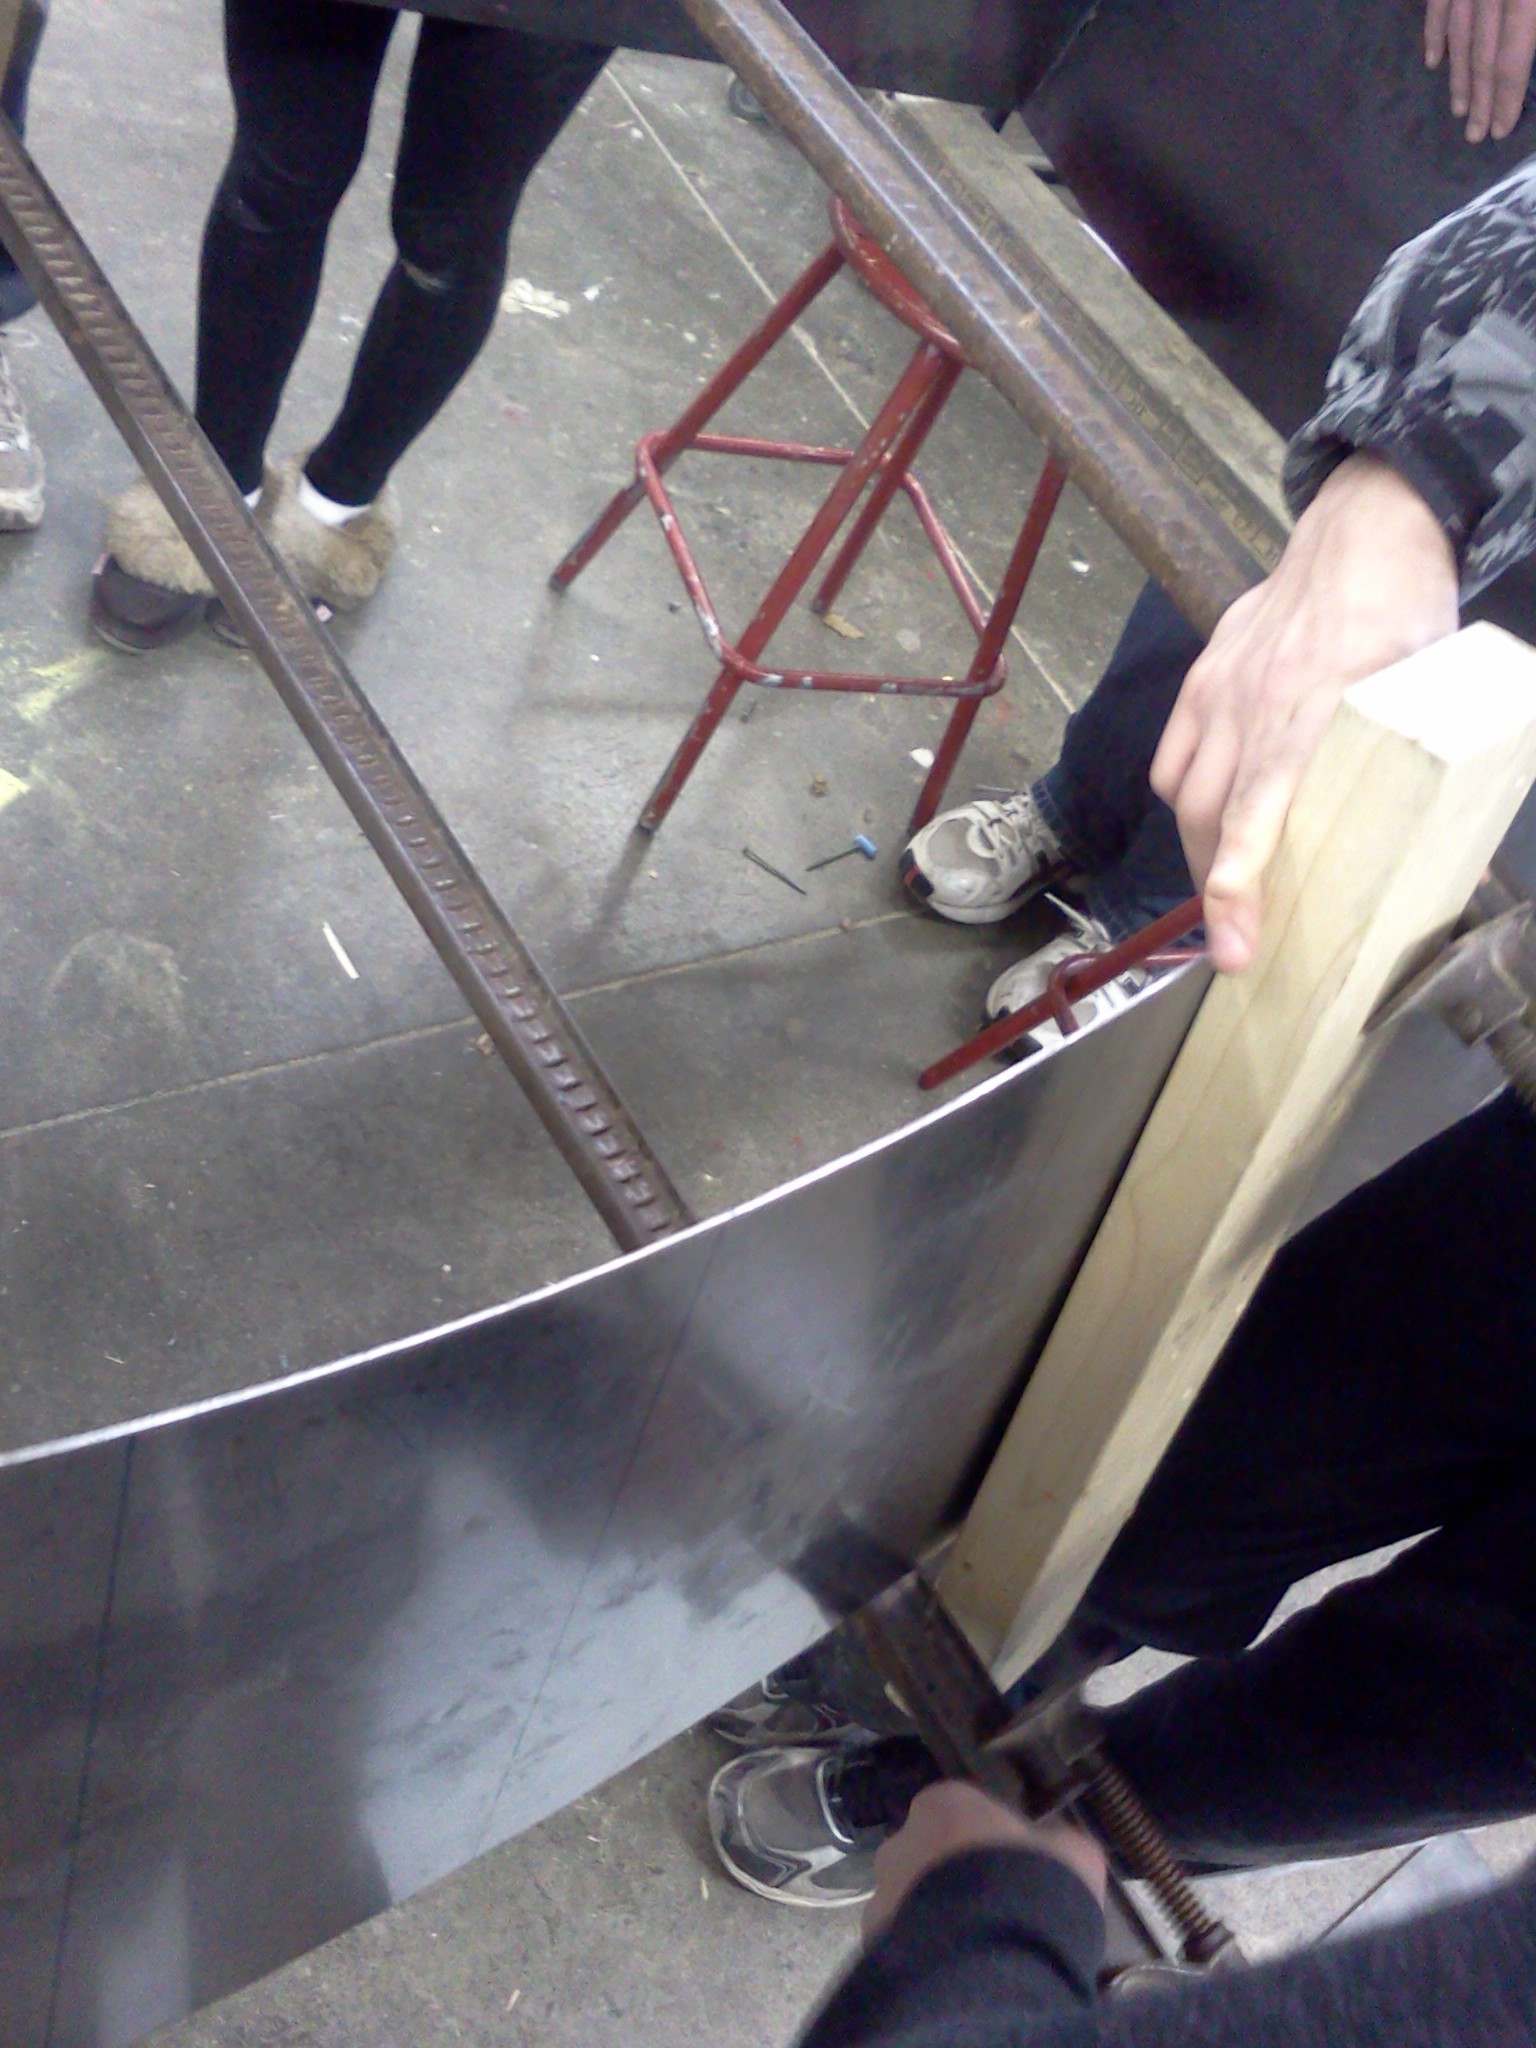
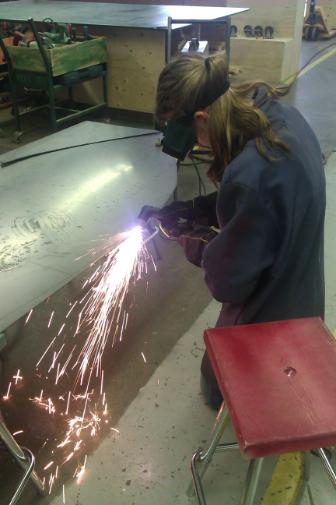 | There were difficulties with drawing the outline of the parts of the boat on the metal. The biggest problem was having exact measurements so that everything would fit well together. When building the boat, another challenge that had to be overcome was which tool would be the best to cut with. After measuring and cutting out the temporary form piece, which was used to give the boat the shape it needed to be until everything was welded together, the steel needed to be cut out. The pieces used did not have many simple, straight lines. The first tool that was used was the jigsaw. This tool was slow, loud, and caused the edges to be very sharp. Once the first side of the boat was cut out, it was decided to use the grinder. The grinder was much faster, however it still left sharp edges and it wasn't completely ideal for cutting out curved lines. Finally, it was decided to use the plasma cutter. It was an extremely effective tool that has the ability to cut intricate lines quickly and easily. This tool was also a lot more fun to use. To the left is a picture of myself cutting out the bottom of the boat using the plasma cutter. It had been the first time using a plasma cutter for the entire group, and it was a very useful and easy to use tool (with practice!) |
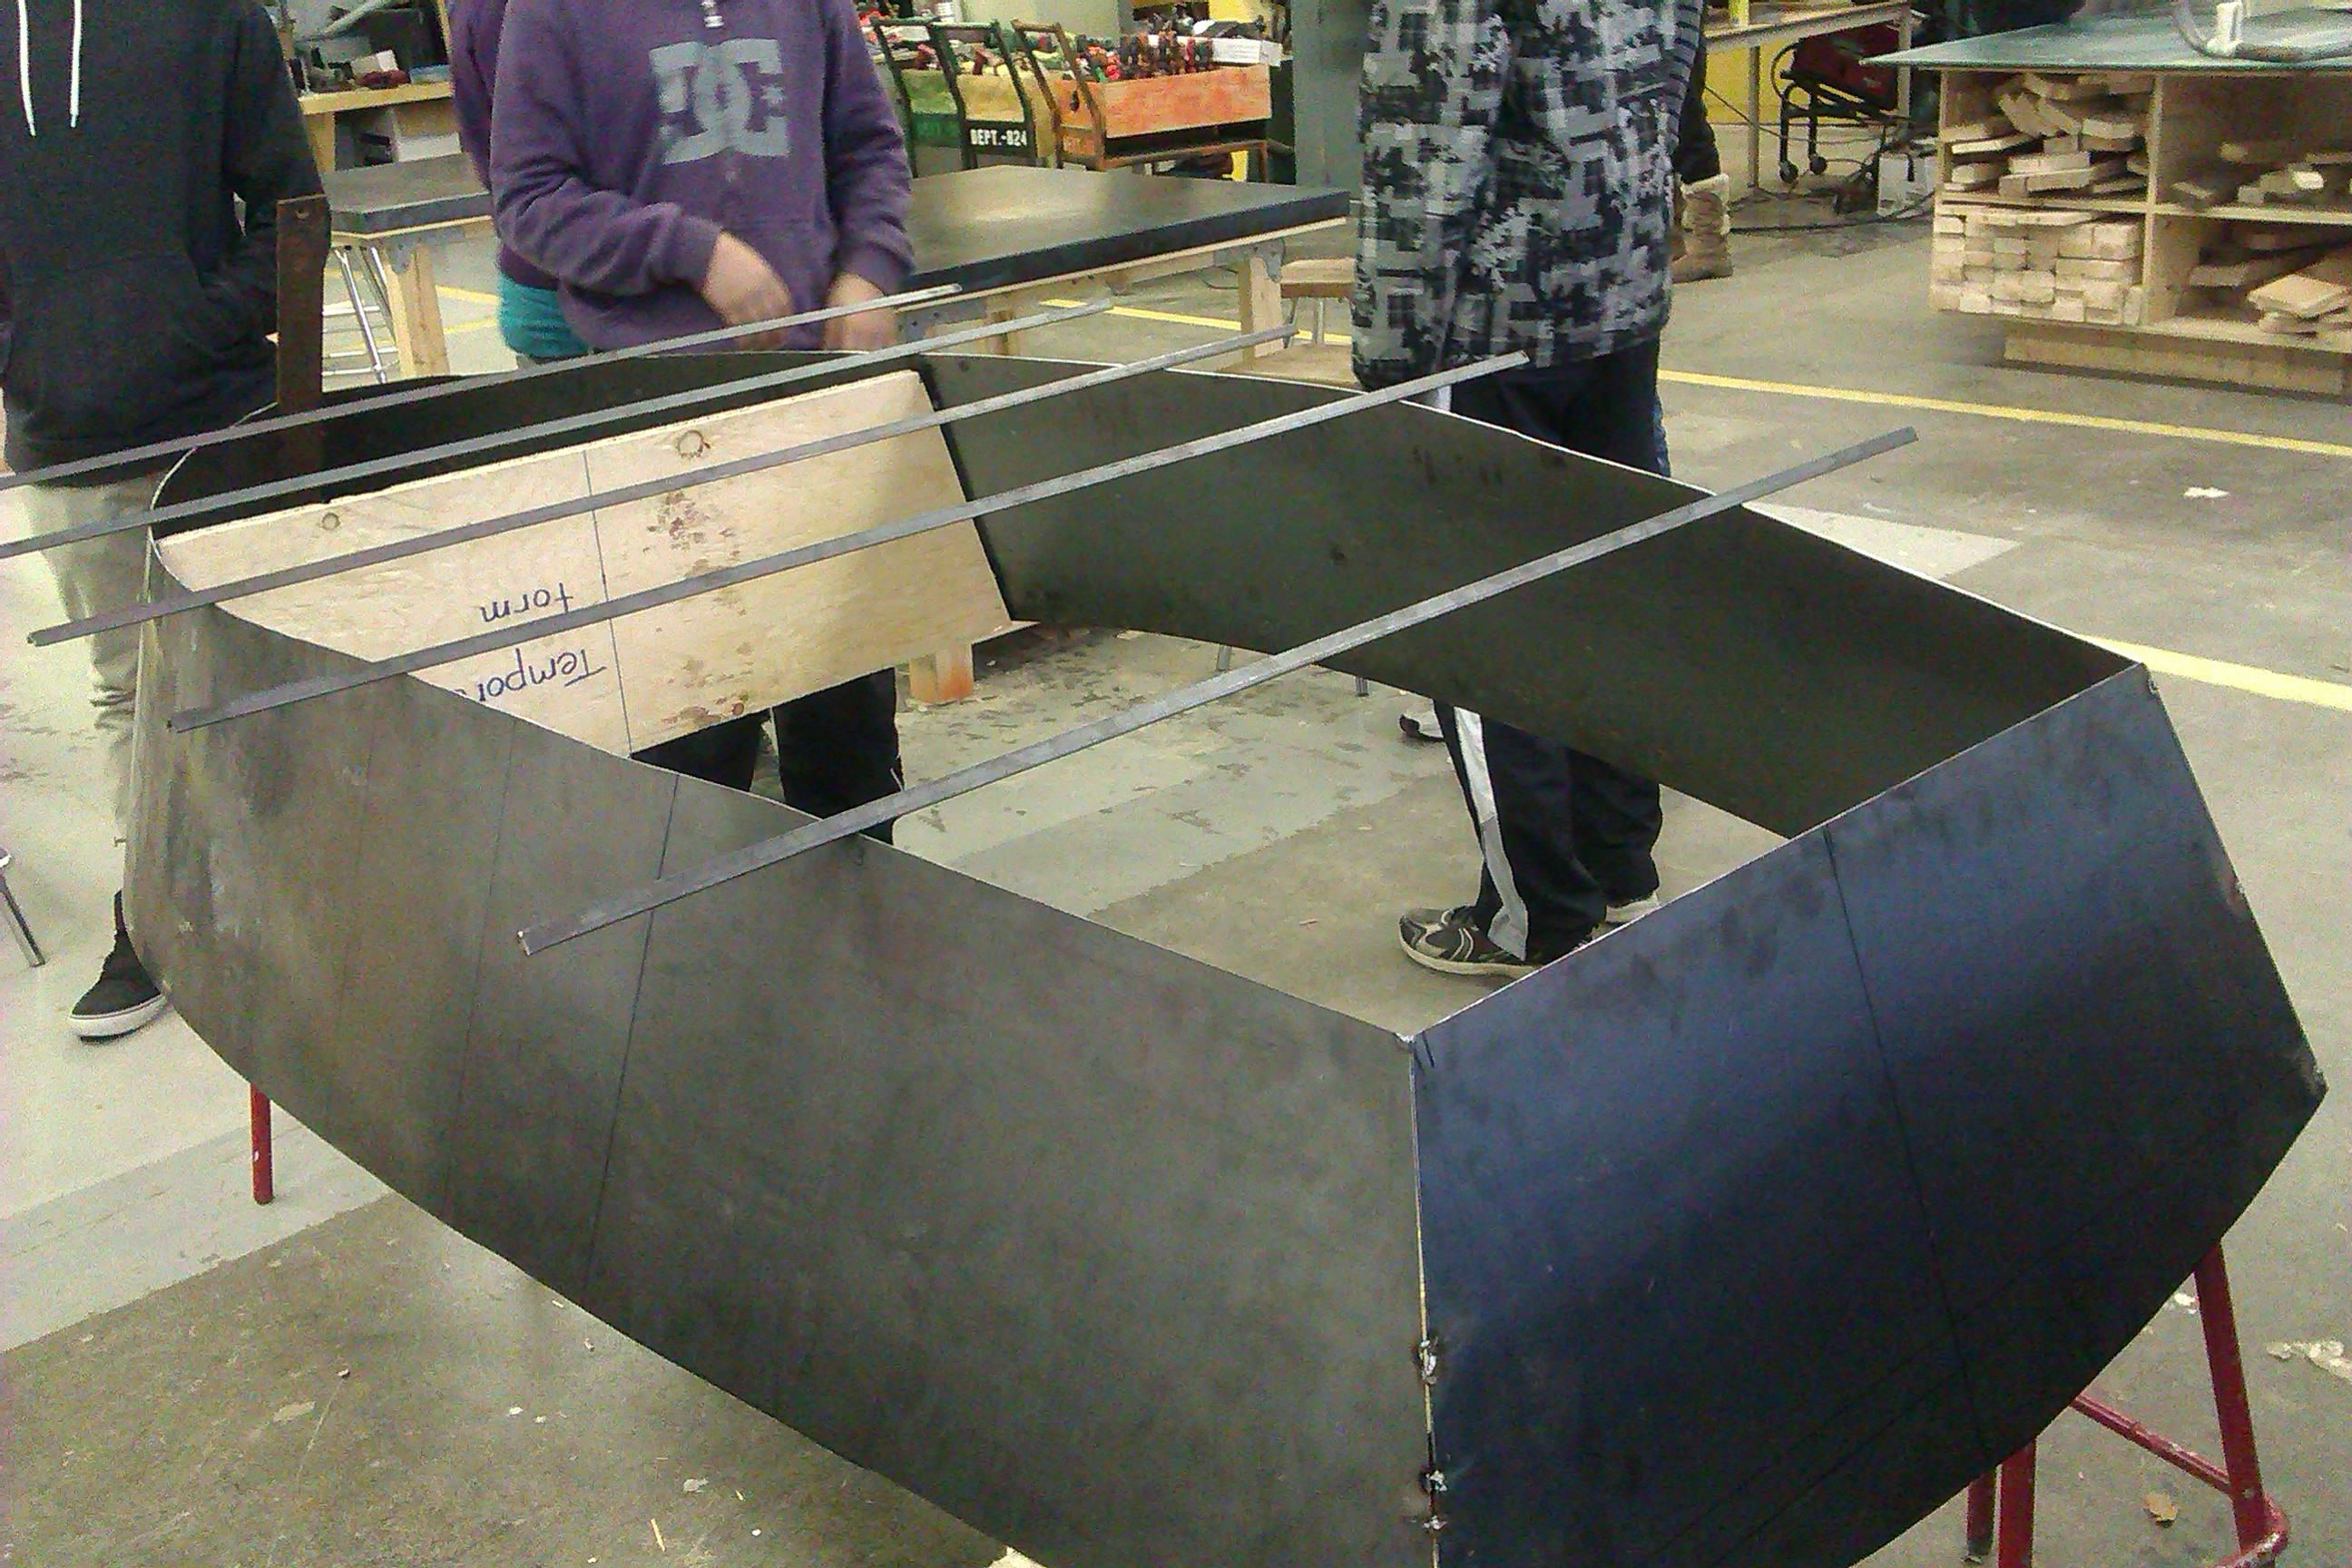
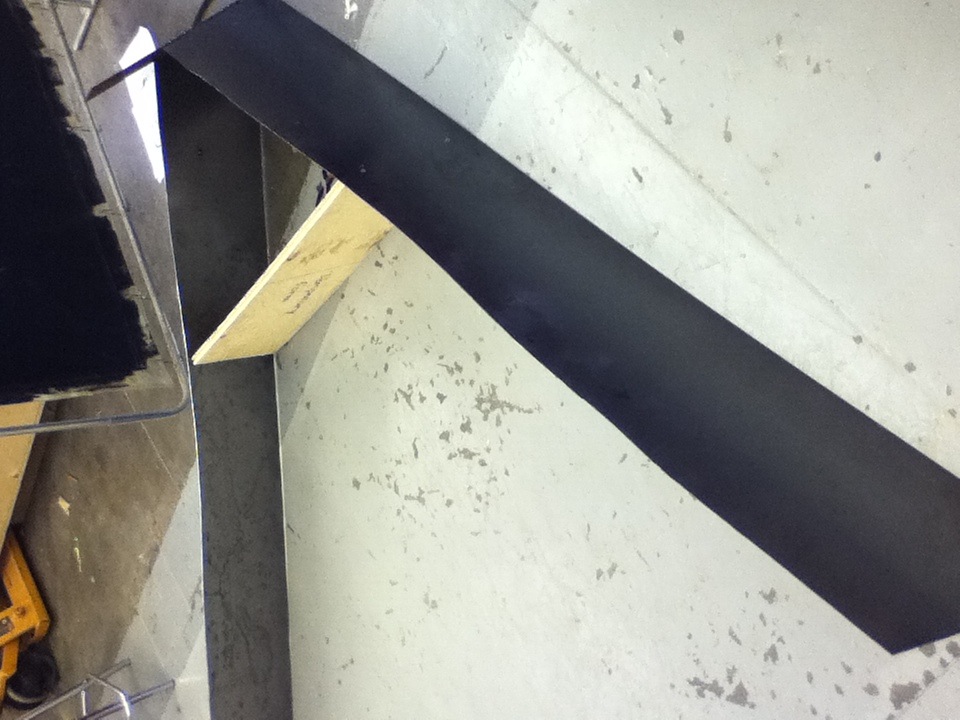
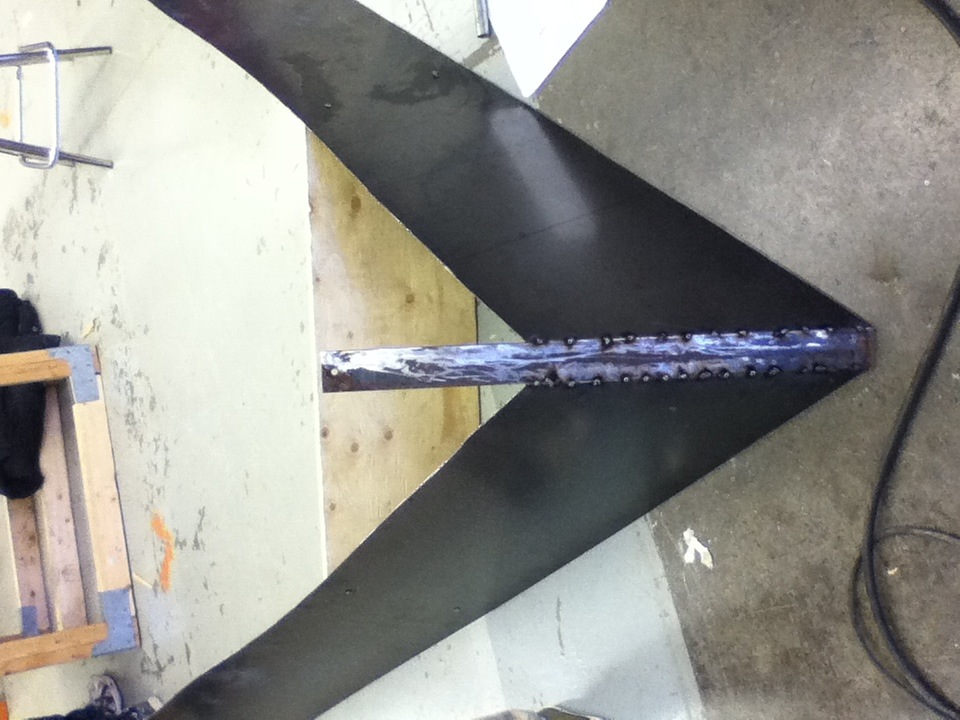
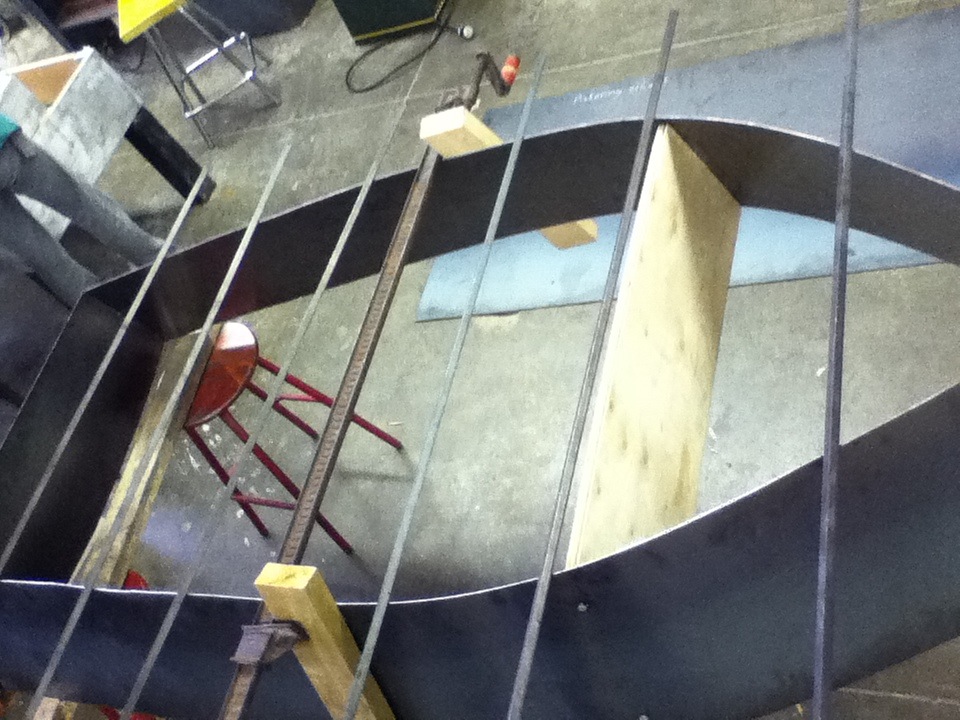
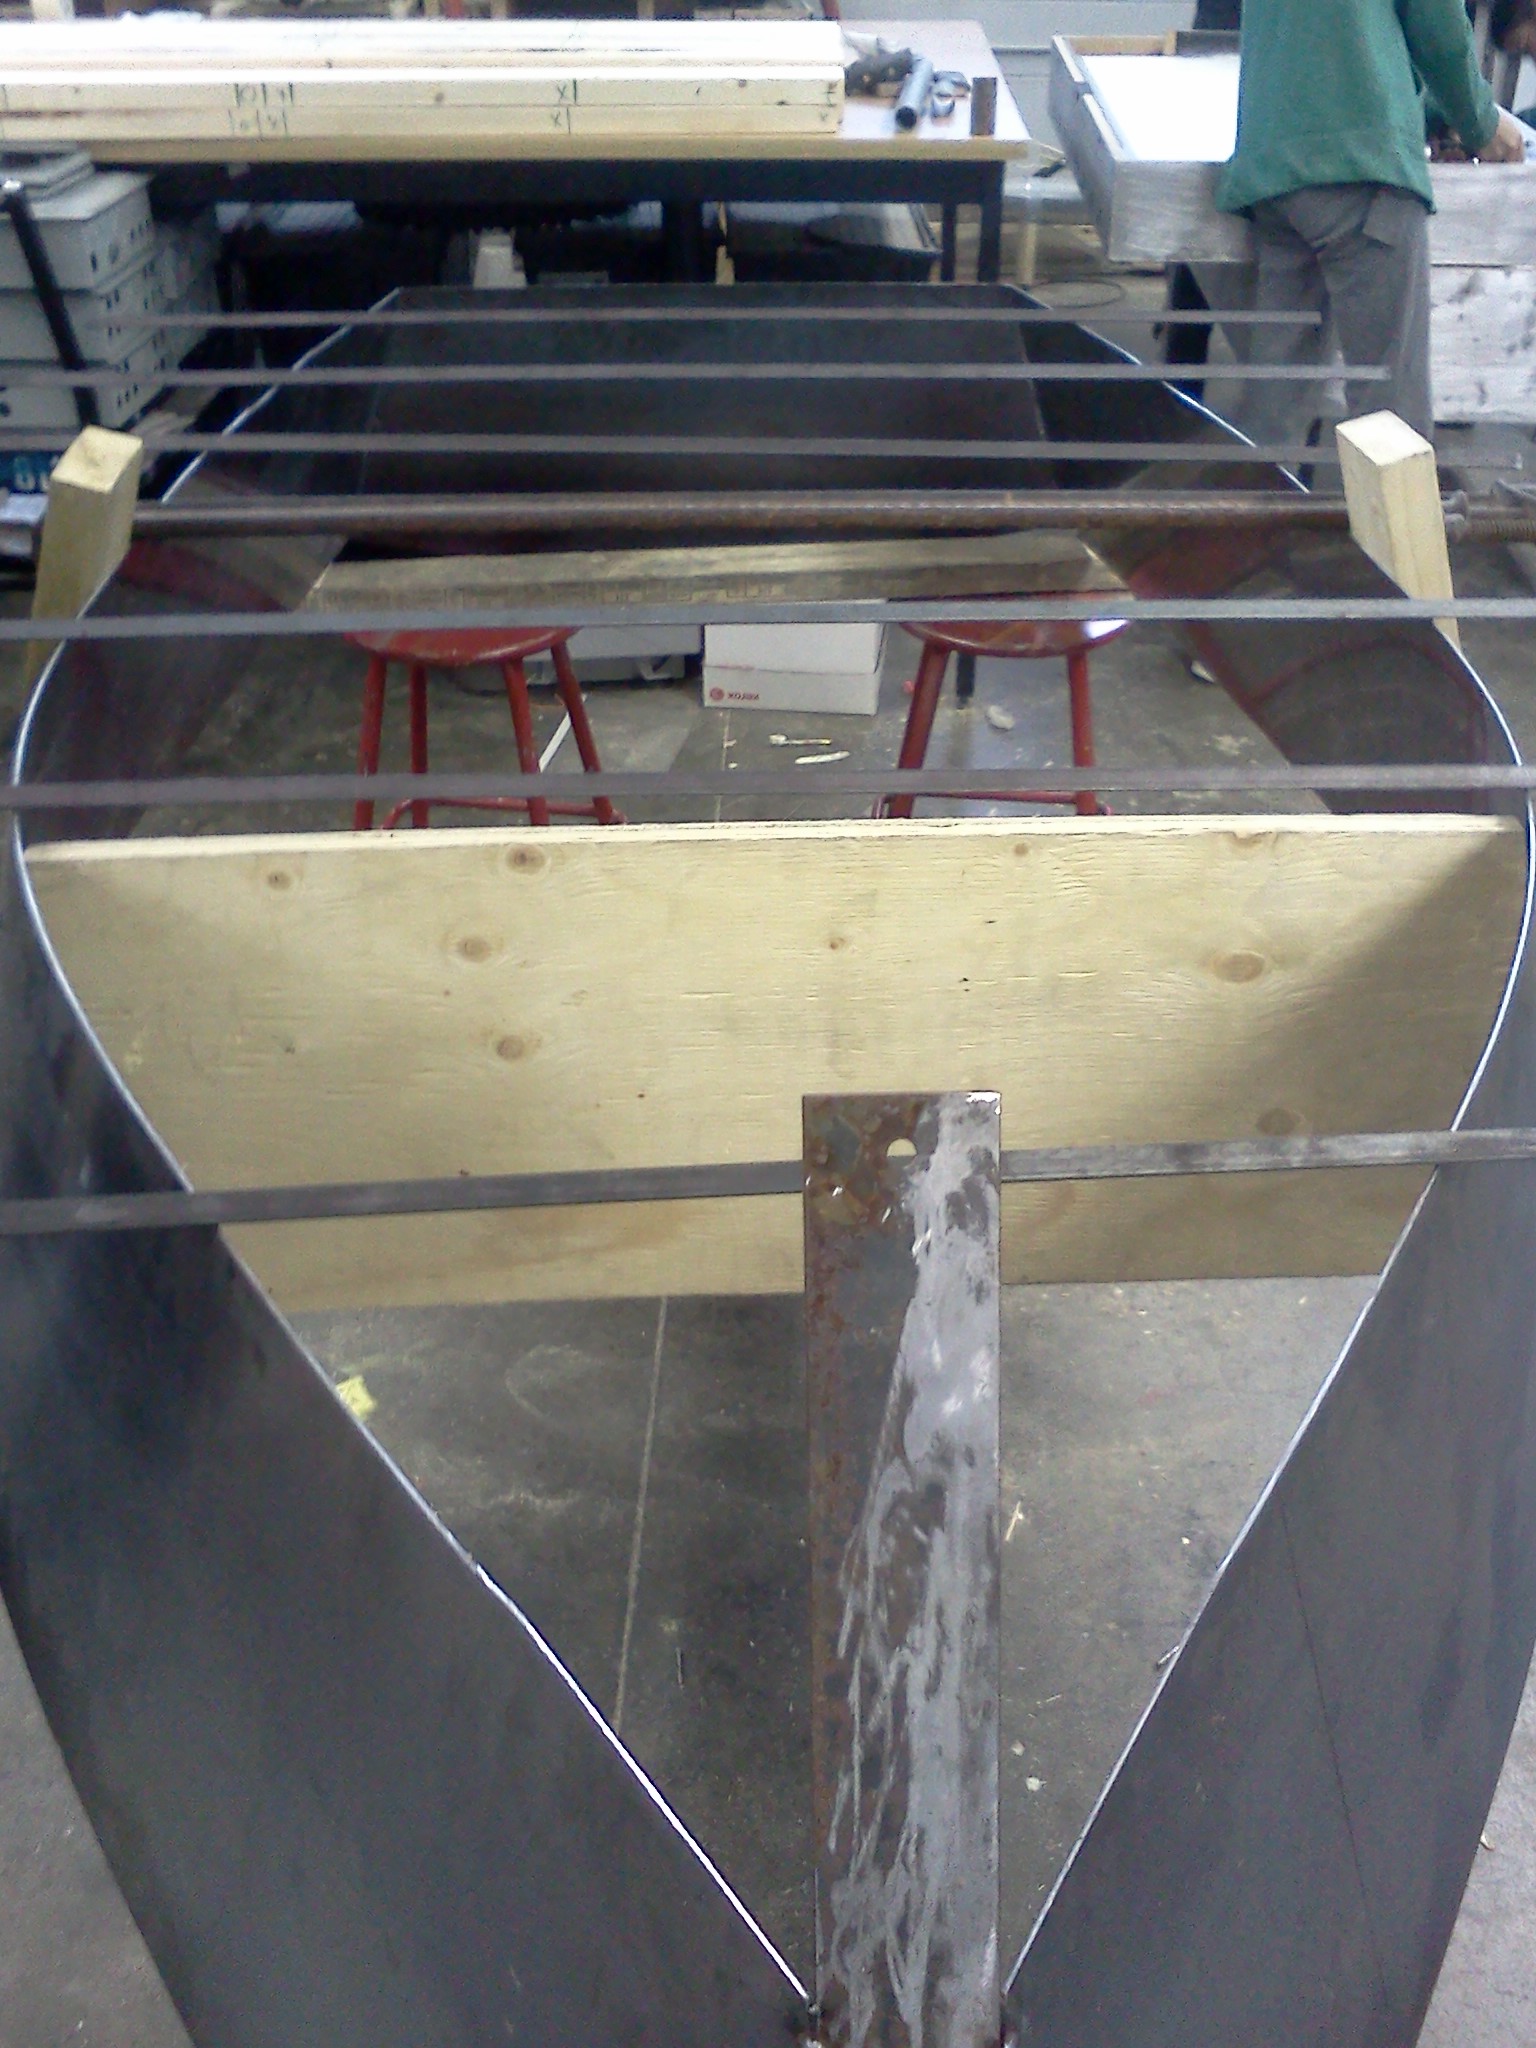
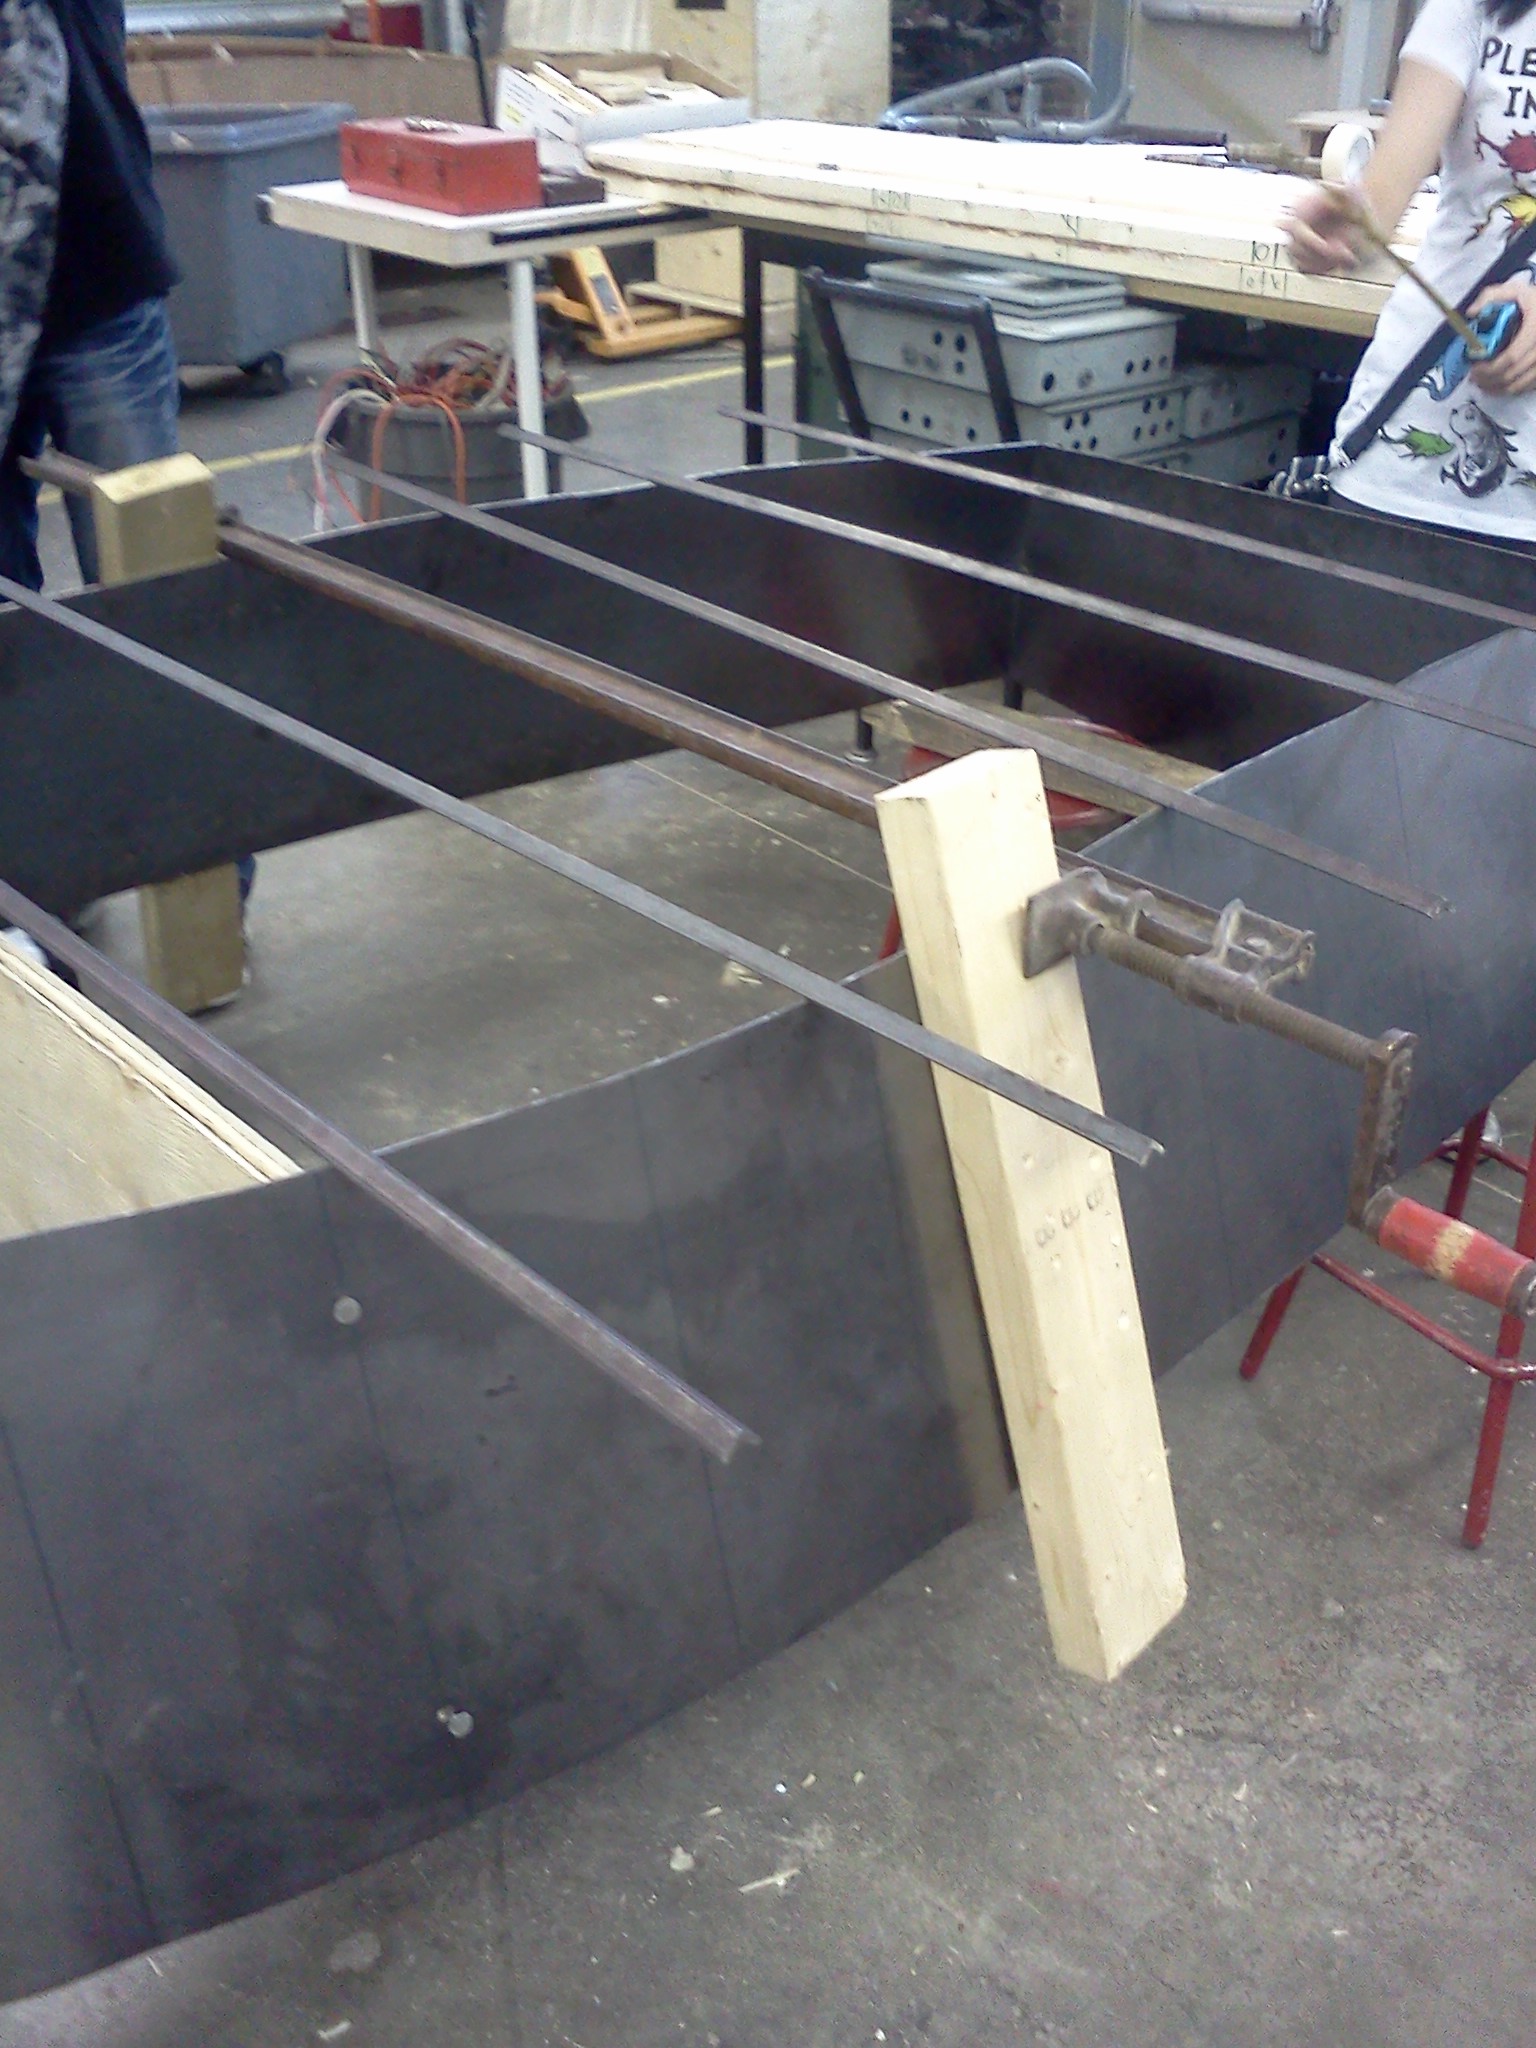
After everything was cut out and the boat was ready to be assembled, it was time to weld. This was also a machine that no one in the group had used before. It took instruction and a lot of practice. First, tacks were made between a piece of metal that attached the two sides to create the bow. A question that arose was how was the temporary form piece going to be attached to the boat so it would stay in place. The resolution was to drill four holes in the sides of the boat where the temporary form piece had to be lined up; and to nail the board within the sides. Afterwards, the stern was tacked on the back. Once this was finished, it was time to unite the bottom of the boat to the rest of it. Many issues occurred during the process. Firstly, the two pieces didn't line up exactly. The boat had to be stretched out to fit its bottom. Many methods were used to do this. It was finally settled by using a clamp (which at the start didn't stay on). That was resolved by taking two scraps of wood to clamp on between the metal sides. Another problem while tacking on the bottom of the boat was keeping the shape once the clamp was off. However, it was manageable with quick tacks and the project was continued. Below are some photos of this process.
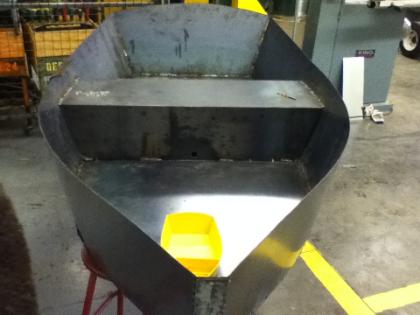 Here is a comparison of the prototype to the boat. | In the meantime, a seat had to be designed so that it could hold enough air so that the boat would stay afloat and that would be comfortable to sit on. With the little time that was left, it was decided to make a simple horizontal seat just under the temporary form piece. An isometric projection was made and Metals Plus had created the seat. Parts were cut off to fit the boat and has been tacked in. At the moment, welding is being done so that it is airtight and waterproof, which is a long process because the welder keeps overheating. When welding is not possible, evenly-spaced holes are being drilled so that the edges are not rough; however, the drill keeps breaking too. Tasks that still need to be finished are the following:
|